
Year ago, when I gave my office a makeover, I reupholstered the little rocking chair I had at the time, and made a French memo board to match.
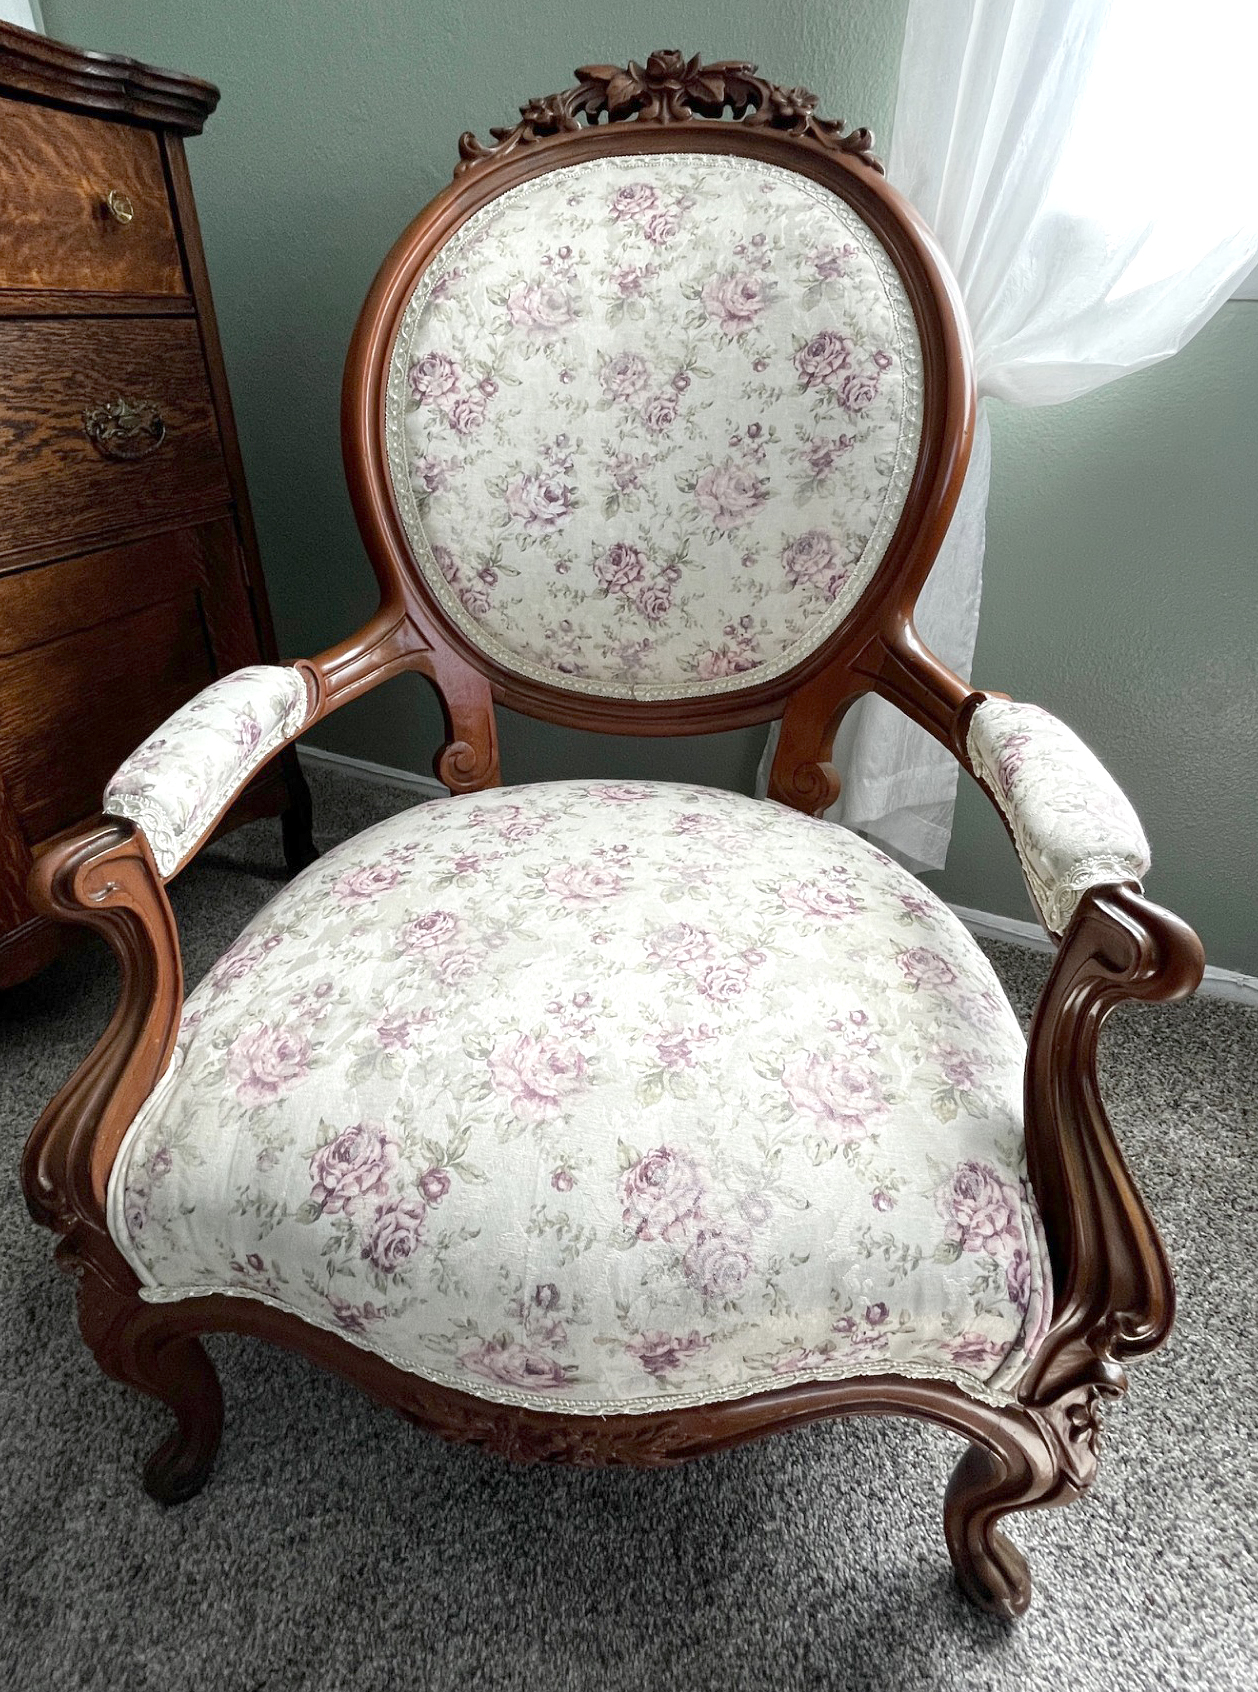
Then, when Captain Cavedweller got me a new chair and we recently had it reupholstered, the memo board no longer matched.
Since I was giving the office a makeover, I decided to make a new French memo board.
They aren’t hard to make and it took less than an hour (with help from CC).
I used the same fabric as the chair and I love that they match!
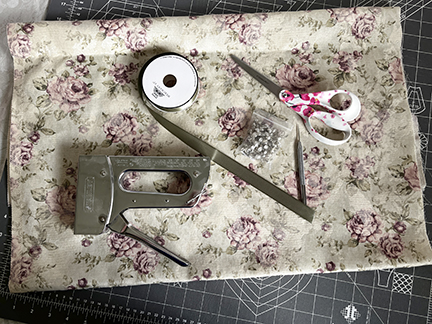
The supplies you will need include:
20×30 inch foam board
fabric
cotton batting
ribbon (you’ll need around 10-12 yards, the spools I had were 4 yards each and I used two and a half spools)
Staple gun with staples
Brads (make sure they are long enough to go through the fabric, batting, and foam)
Hole piercing tool (or a nail)
Scissors
DIRECTIONS:
Add a picture hanger about four inches from the top on the back of the foam board. I used long brads to fasten it to the board, then added a piece of duct tape over them just to make sure they were secure.
Cut the fabric 22 x 32 inches, leaving overlap all the way around.
Spread the fabric out. Iron out wrinkles if necessary. Smooth batting over fabric. Then top with the foam board.
This is where an extra set of hands if helpful.
Snugly pull the fabric over the edge of the foam board and staple in place. Continue pulling the fabric tight and fastening to the foam board. Use staples that are long enough to go through the board, but not long enough to show through the fabric. Start at one edge, work your way across, then work on the opposite edge, pulling fabric tight with each staple, then repeat the process on the two remaining sides.
When the fabric is secure, turn the board over and measure where you want to place the ribbons. I placed mine every five inches. Staple one end of the ribbon to the back side of the foam board, pull it tight, then staple the end diagonally on the opposite end. Weave the ribbons in and out of each other was you work.
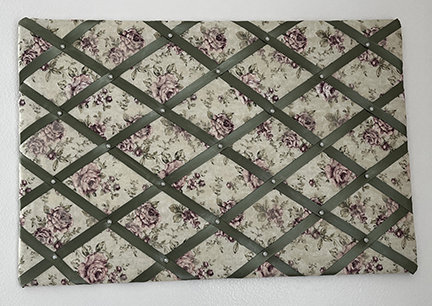
When all the ribbons are attached, use the piercing tool (or a sharp nail) to poke a small hole into the fabric, insert the brad, and fasten it on the back. Place a brad everywhere the ribbon makes an X.
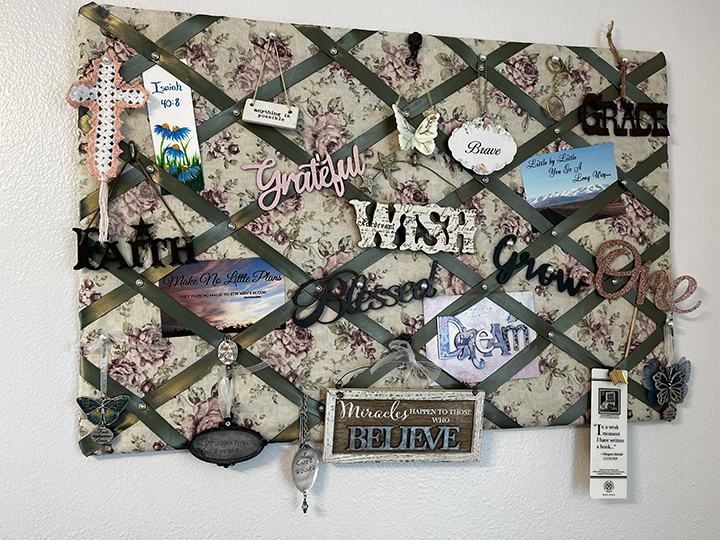
Now it is ready to hang with whatever makes your heart happy!
Oh, and I found these fun pearl push pins that I love.
